The three-dimensional stone texture of a PU panel comes mainly from its formed shape, while the finished colour, sheen and feel also depend on surface treatment. To understand a panel, separate three questions: what forms the body, how the relief is created, and how the surface is finished.
These aspects do not necessarily correspond to separate layers bonded together. A single three-layer diagram for every product may look clear but misrepresent the actual construction. For a particular model, its construction description and clear photographs of the front, side and back are more useful.
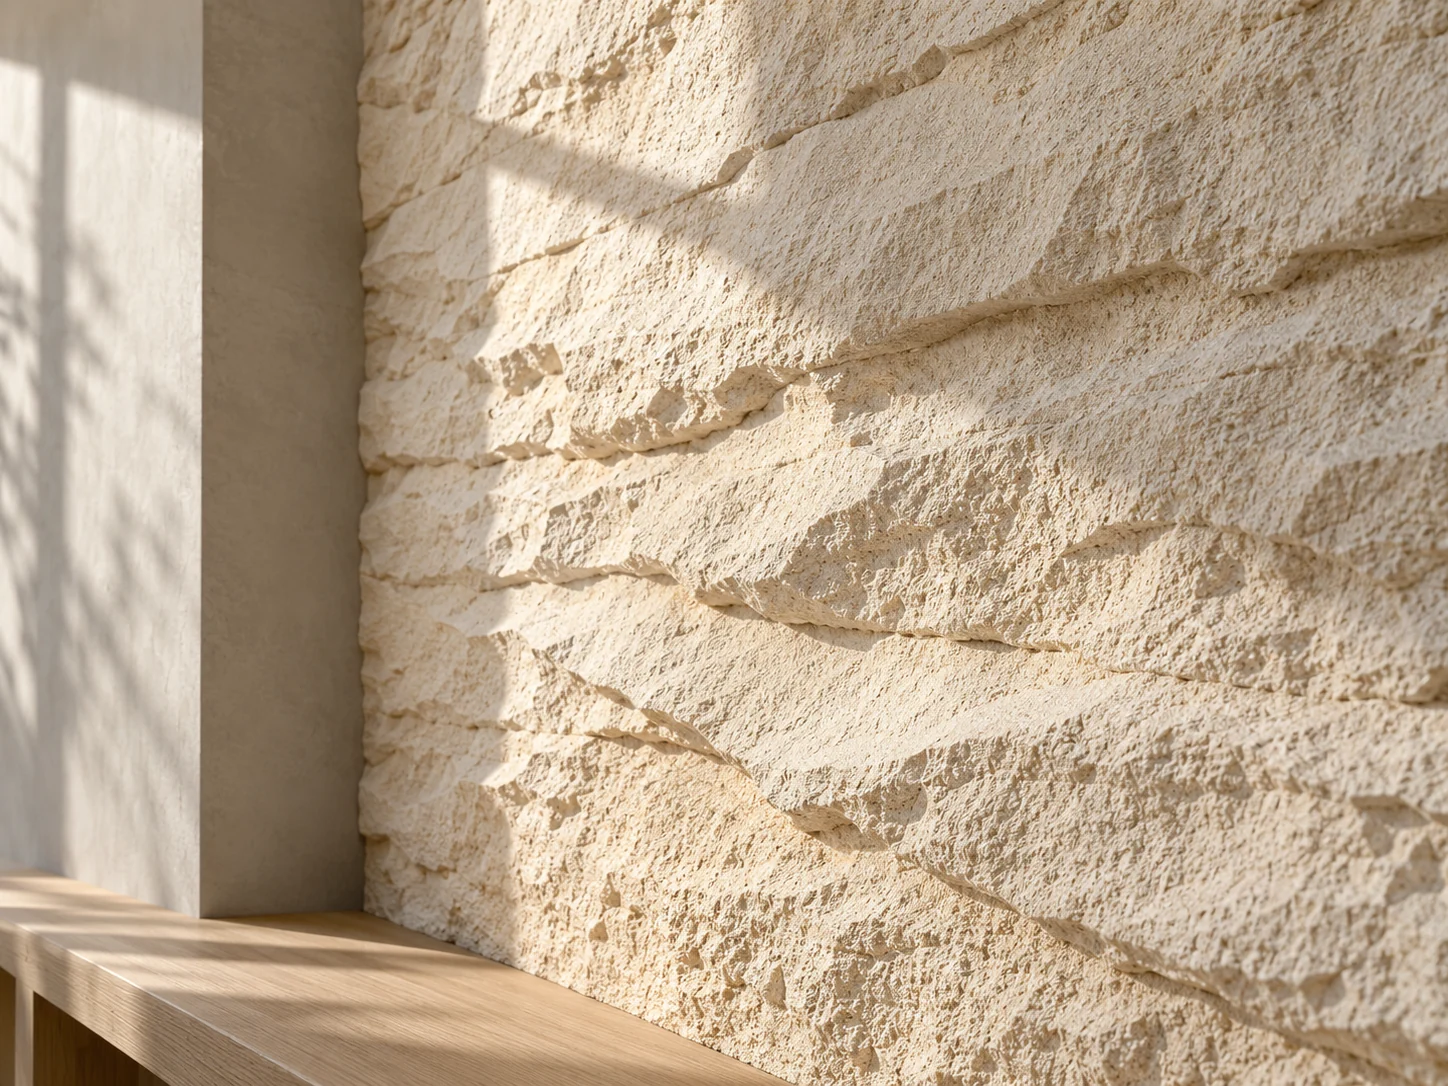
Cover: Illustrative concept: side lighting reveals rock relief and shadows; refer to the relevant sample for the actual product
1. Polyurethane forms the body; foaming changes its internal structure
PU is polyurethane, a family of polymers formed by reacting suitable isocyanates with polyols. Different formulations and processing methods can produce dense materials or materials with a cellular structure. Hardness can also vary. The same raw-material names do not mean finished products will feel or perform alike.
Foamed PU used in common three-dimensional stone-effect panel formats has cells within the material. The key to understanding foaming is that the internal structure changes. The word alone does not tell you whether a product is soft, fragile or suitable for carrying loads.
For wall panels, the body shape, thickness and actual formulation together affect how the finished product behaves. A pronounced rock-face profile also does not let you estimate the weight of a panel from its appearance. To compare material quantities or the additional weight on a wall, obtain actual data for the relevant model.
For more on polyurethane chemistry, processing and different material forms, see BASF's introduction to polyurethane.
2. Rock relief can be formed geometry, beyond a colour pattern
For moulded PU stone-effect panels, the mould defines the surface profile and the material takes on those raised and recessed contours as it forms. This allows rock layers, blocks, grooves and other three-dimensional details to be created. Polyurethane forming technologies can produce different shapes; the actual equipment and process depend on the product system.
When viewing a front photograph, distinguish light and dark colour from physical height and depth. A dark area may be colouring, a shadow in a recess, or both. That photograph alone makes it difficult to judge how far the surface projects.
A side view or a profile drawing with clear dimensions gives you more useful information. Then place several panels together to see how the larger forms continue and whether distinctive features repeat. Moulds can create detail, but some recognisable shapes may also recur across an arrangement. A natural-looking wall still needs appropriate panel formats and a considered layout.
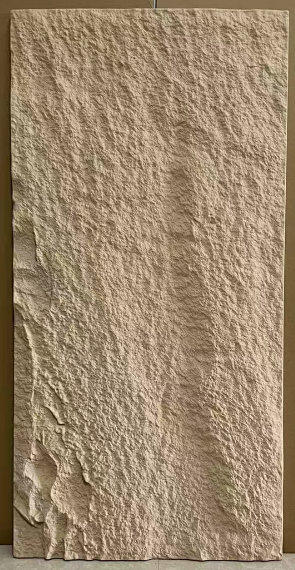
3. A moulded surface and an applied finish are different things
Some polyurethane systems form a relatively dense outer skin and a foamed interior during moulding. This skin is part of the self-skinning or integral foam structure; it does not mean a separate stone shell has subsequently been bonded on. Some integral foam materials described by Covestro illustrate this approach, but this does not mean all PU wall panels have the same construction.
The finished surface's colour, sheen and feel are another aspect. Colouring or finishing processes may be used to complete the appearance; the treatment should be checked against information for the model. Ask separately whether the hard surface you see is part of the moulded skin, how the colour is created, and whether there is any additional finish or backing.
This distinction helps avoid two mistakes. The first is reading dark and light colouring as deep physical relief. The second is treating a colour difference between the interior and surface as an automatic quality defect. Whether colour runs through the body depends on the specified material and finish construction. If a product receives most of its colour at the surface, how cut edges are finished is worth confirming in advance.
To assess surface workmanship, return to a complete sample. Look for a coherent appearance at edges, grooves and raised areas, whether colour variation matches the selected sample, and whether clear use and care instructions are available. Randomly scratching one small spot usually cannot replace those checks.
4. Read the cross-section, back and thickness information together
A clear cross-section photograph can help explain the relationship between the interior and surface. You cannot read density, strength or a fire rating directly from the photograph. Lighting, the cutting position and sample size also affect what the photograph shows, so obtain a construction description for the location shown where possible.
The back helps you understand the product's construction and contact surface. A product may have backing, grooves or joining edges; whether these exist and what they do should be explained for the actual panel format. A flat-looking back does not mean the panel suits every wall substrate.
| Where to look | What it helps explain | Mistake to avoid |
|---|---|---|
| Front | Colour, fine texture, sheen and the shape of the whole panel | Reading a dark shadow as a thickness measurement |
| Side or profile drawing | Base thickness, relief and maximum projection | Treating the maximum projection as a uniform thickness across the panel |
| Cross-section | The relationship between the interior, moulded skin and finish | Estimating density or performance from a photograph of cells |
| Back and edges | Contact surfaces, joining details and any backing present | Choosing an adhesive or fixing method from appearance alone |
When comparing the thickness of two relief panel formats, establish where each dimension was measured. Maximum projection describes the space occupied by the profile, while base thickness describes a different part of the panel body. Both may affect its use, but they cannot stand in for each other.
5. Understanding the structure makes surface differences easier to read
Products described as PU stone-effect wall panels can still differ in formulation, shape and surface treatment. A complete understanding brings the front appearance and body construction together: whether the light and dark areas you like come from colour or relief, how the side edges are finished, and what the body and back are like.
This also makes sample comparison more specific. You do not need to learn a production formulation. First understand the roles of the body, formed profile and finish, then use the relevant model information to decide whether the product meets your needs.
YEYU supplies PU decorative wall panels and decorative architectural elements. If you have chosen a texture, discuss samples, profiles and surface information for the corresponding panel format with us to confirm the actual product.
Email: sales@yeyupu.com; WhatsApp: +853 6206 6872.
Contact YEYU · Explore PU decorative wall panels
Material references: BASF's polyurethane FAQs; Covestro's polyurethane forming technology; an example of Covestro integral foam materials.