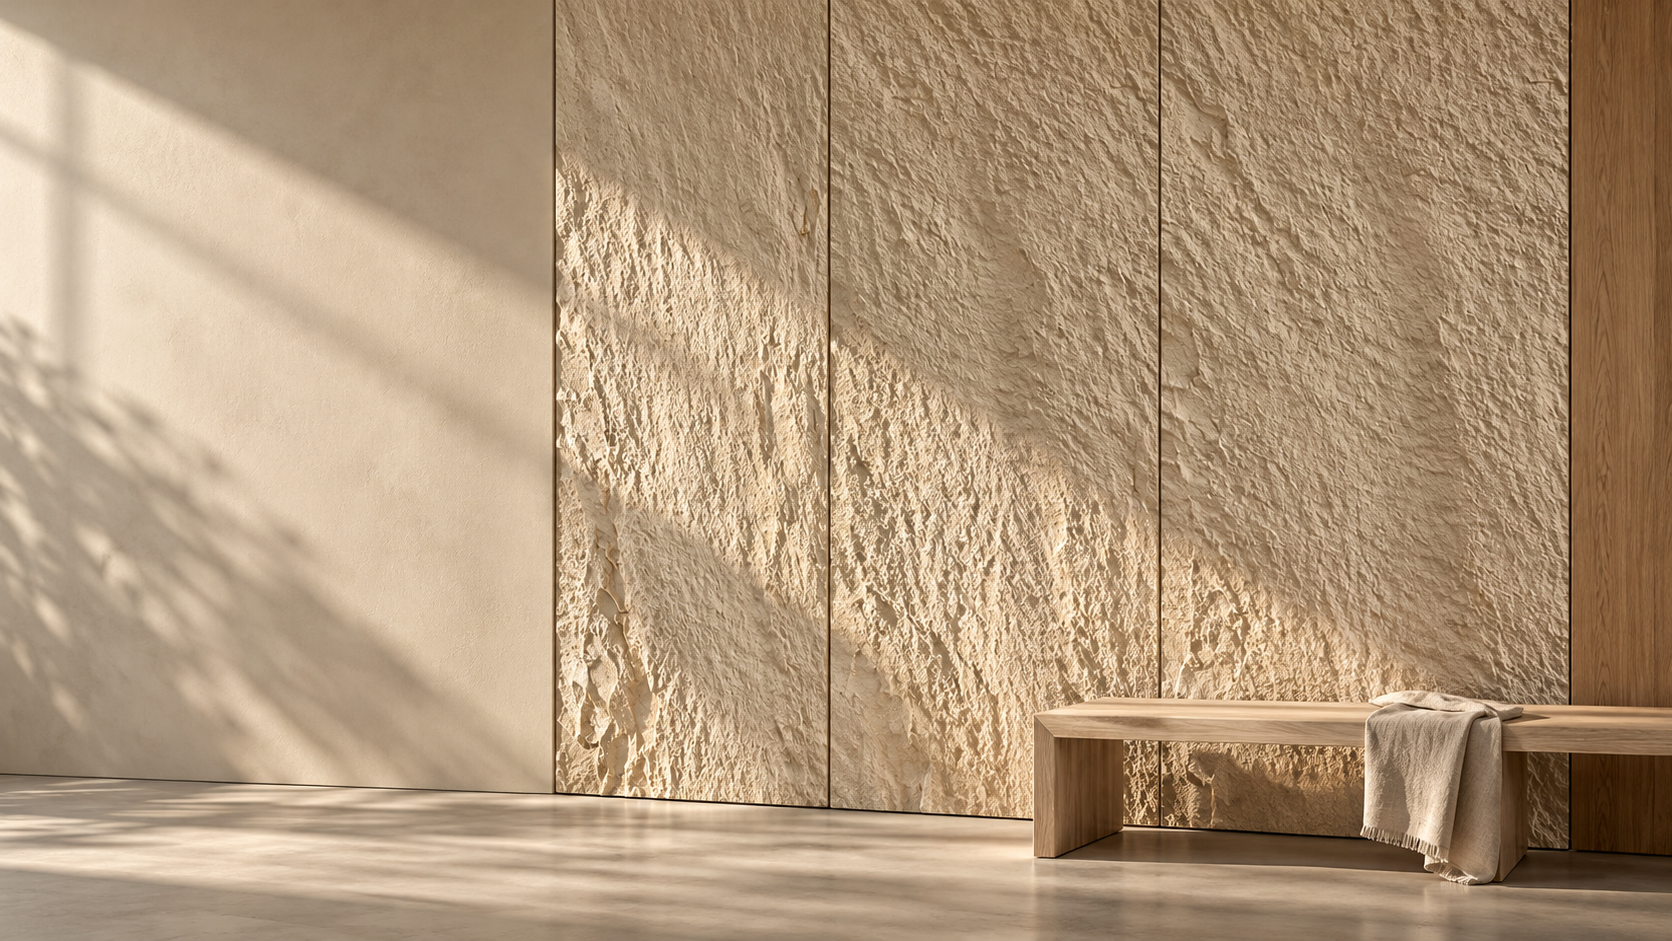
Cover — illustrative concept: rock textures paired with a wood-grain finish, not a photograph of a completed project.
The stone-effect PU wall panels on our website use polyurethane as their main material to create decorative surfaces with rock-like relief and the layered appearance of stonework. Products in this category are often described as “PU stone”; some trade names also suggest a softer material.
We are Yeyu PU stone, a factory in China producing PU decorative wall panels and decorative architectural elements. For customers encountering these products for the first time, we suggest looking at three things together: the material and surface of an individual panel, the appearance of several panels arranged together, and how they will be installed on site. Understanding these points makes it easier to choose a texture for your project.
1. Start with the material: what does PU mean?
PU stands for polyurethane, a polymer material. Different formulations and manufacturing processes can produce flexible or rigid products. The letters “PU” alone therefore do not tell you how soft, strong or suitable for a particular use a finished product will be. (An introduction to polyurethane)
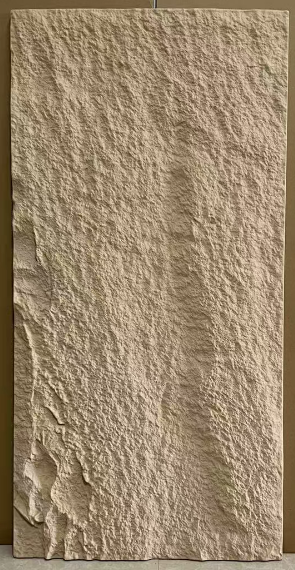
Stone-effect PU wall panels commonly use moulded rigid polyurethane foam, combined with surface finishing, to create rock, brick and other relief textures. The mould gives the surface its contours; colour and tonal variation further shape its appearance. Polyurethane can be made into products of different firmness and shape, and wall panels are one decorative application. (Polyurethane forms and applications)
Three distinctions are useful here:
- “Stone-effect” describes the appearance. The panel presents a stone texture, while its main material remains PU. It should not be understood as a natural stone slab. The same applies to wood-grain and brick-effect panels: these descriptions refer to their appearance.
- A name suggesting softness does not establish that a panel can bend. It may bring a thin, flexible sheet to mind, but some relief-textured PU panels have a fixed shape. For a curved wall, a column or a tight-radius corner, first check the construction and installation method of the specific model.
- PU is different from MCM and mineral-based flexible ceramic finishes. Similar-looking rock or stone textures in photographs do not make these materials interchangeable. Compare their composition, thickness, installation details and conditions of use separately, rather than applying one product's installation instructions to another.
For purchasing, the product name should be accompanied by information that identifies the actual material, panel format, how its dimensions are measured and the intended installation location.
2. Why use PU to create stone-like and relief textures?
One reason to consider stone-effect PU panels is that they offer pronounced surface relief in a material that is generally lighter than natural stone cladding. This gives designers another way to explore rock faces, block-like forms and sculpted surfaces. Any specific weight comparison should use actual models with a similar decorative effect and the same coverage area.
The three-dimensional effect comes from the surface shape
A flat surface printed with a stone pattern and a panel with physical relief receive light differently. Light from the side creates different areas of brightness and shadow on raised and recessed parts; the visible depth also changes with the viewing angle. This is worth examining in person when selecting a relief-textured panel.
Deeper texture usually has a stronger visual presence, but greater depth is not automatically a better choice. A narrow space or a wall people regularly pass close to may call for less projection. A main wall seen from farther away may accommodate more pronounced forms and shadows.
First consider what you want people to notice: the overall outline from a distance, the surface detail up close, or a quiet background for furniture and displays. That decision is often more useful than choosing a colour first.
Lighter panels can change handling and installation arrangements
Weight is one reason this category is considered, particularly when planning material handling, work on different floors or the additional load on a wall. Actual labour still depends on panel size, substrate preparation, the fixing method and the difficulty of finishing the edges. It cannot be converted into a universal labour-saving percentage.
Ask for the weight per panel and its effective coverage area, so you can compare how much material must be handled to complete the same wall area. For international shipping, check packed volume as well: a lightweight relief panel can still take up considerable transport space. Looking only at weight per panel can miss that part of the calculation.
Moulded panels provide units that can be planned in a layout
Panel format, texture direction and joint arrangement can be considered together during layout planning. For example, if you want several walls to share a similar visual rhythm, you can first plan joints and texture direction around the panel format, then adjust the arrangement to suit doors and windows.
Moulded textures can also repeat. A natural-looking rock surface on one panel does not guarantee that a larger installation will avoid visible repetition. Look at how neighbouring panels meet, whether distinctive features recur, and whether different texture faces are available for the layout.
If natural stone's particular feel, mineral detail or piece-to-piece variation is especially important to you, compare a PU sample with a real stone sample side by side. Each material has its own character; photographs cannot make that decision for you.
3. Where to start in the Yeyu PU stone range
Our product presentation is organised around six directions. Start by narrowing the options to suit your space, then use the current catalogue to choose a particular panel format and model.
| Direction | What to examine | A useful starting question |
|---|---|---|
| Stone and rock textures | Rock-layer direction, form size, relief and shadows | Do you want pronounced rugged relief or a more subtle stone texture? |
| Brick-effect and masonry textures | Unit proportions, arrangement and joint width | Does the brick scale work up close, and does the repeated layout look natural? |
| Fair-faced concrete and cement textures | Shades of grey, surface detail and panel divisions | Should the wall feel quiet and uniform, or retain visible surface variation? |
| Wood-grain and bamboo textures | Grain direction, line spacing and tone | What directional effect will work with the furniture and flooring? |
| Linear and relief textures | Line spacing, relief depth and arrangement | Do you want to emphasise height, a sense of extension or local changes in light and shadow? |
| Decorative architectural elements | Profile, proportions, connections and edge finishes | Will the element meet the wall, doorway or adjoining surface naturally? |
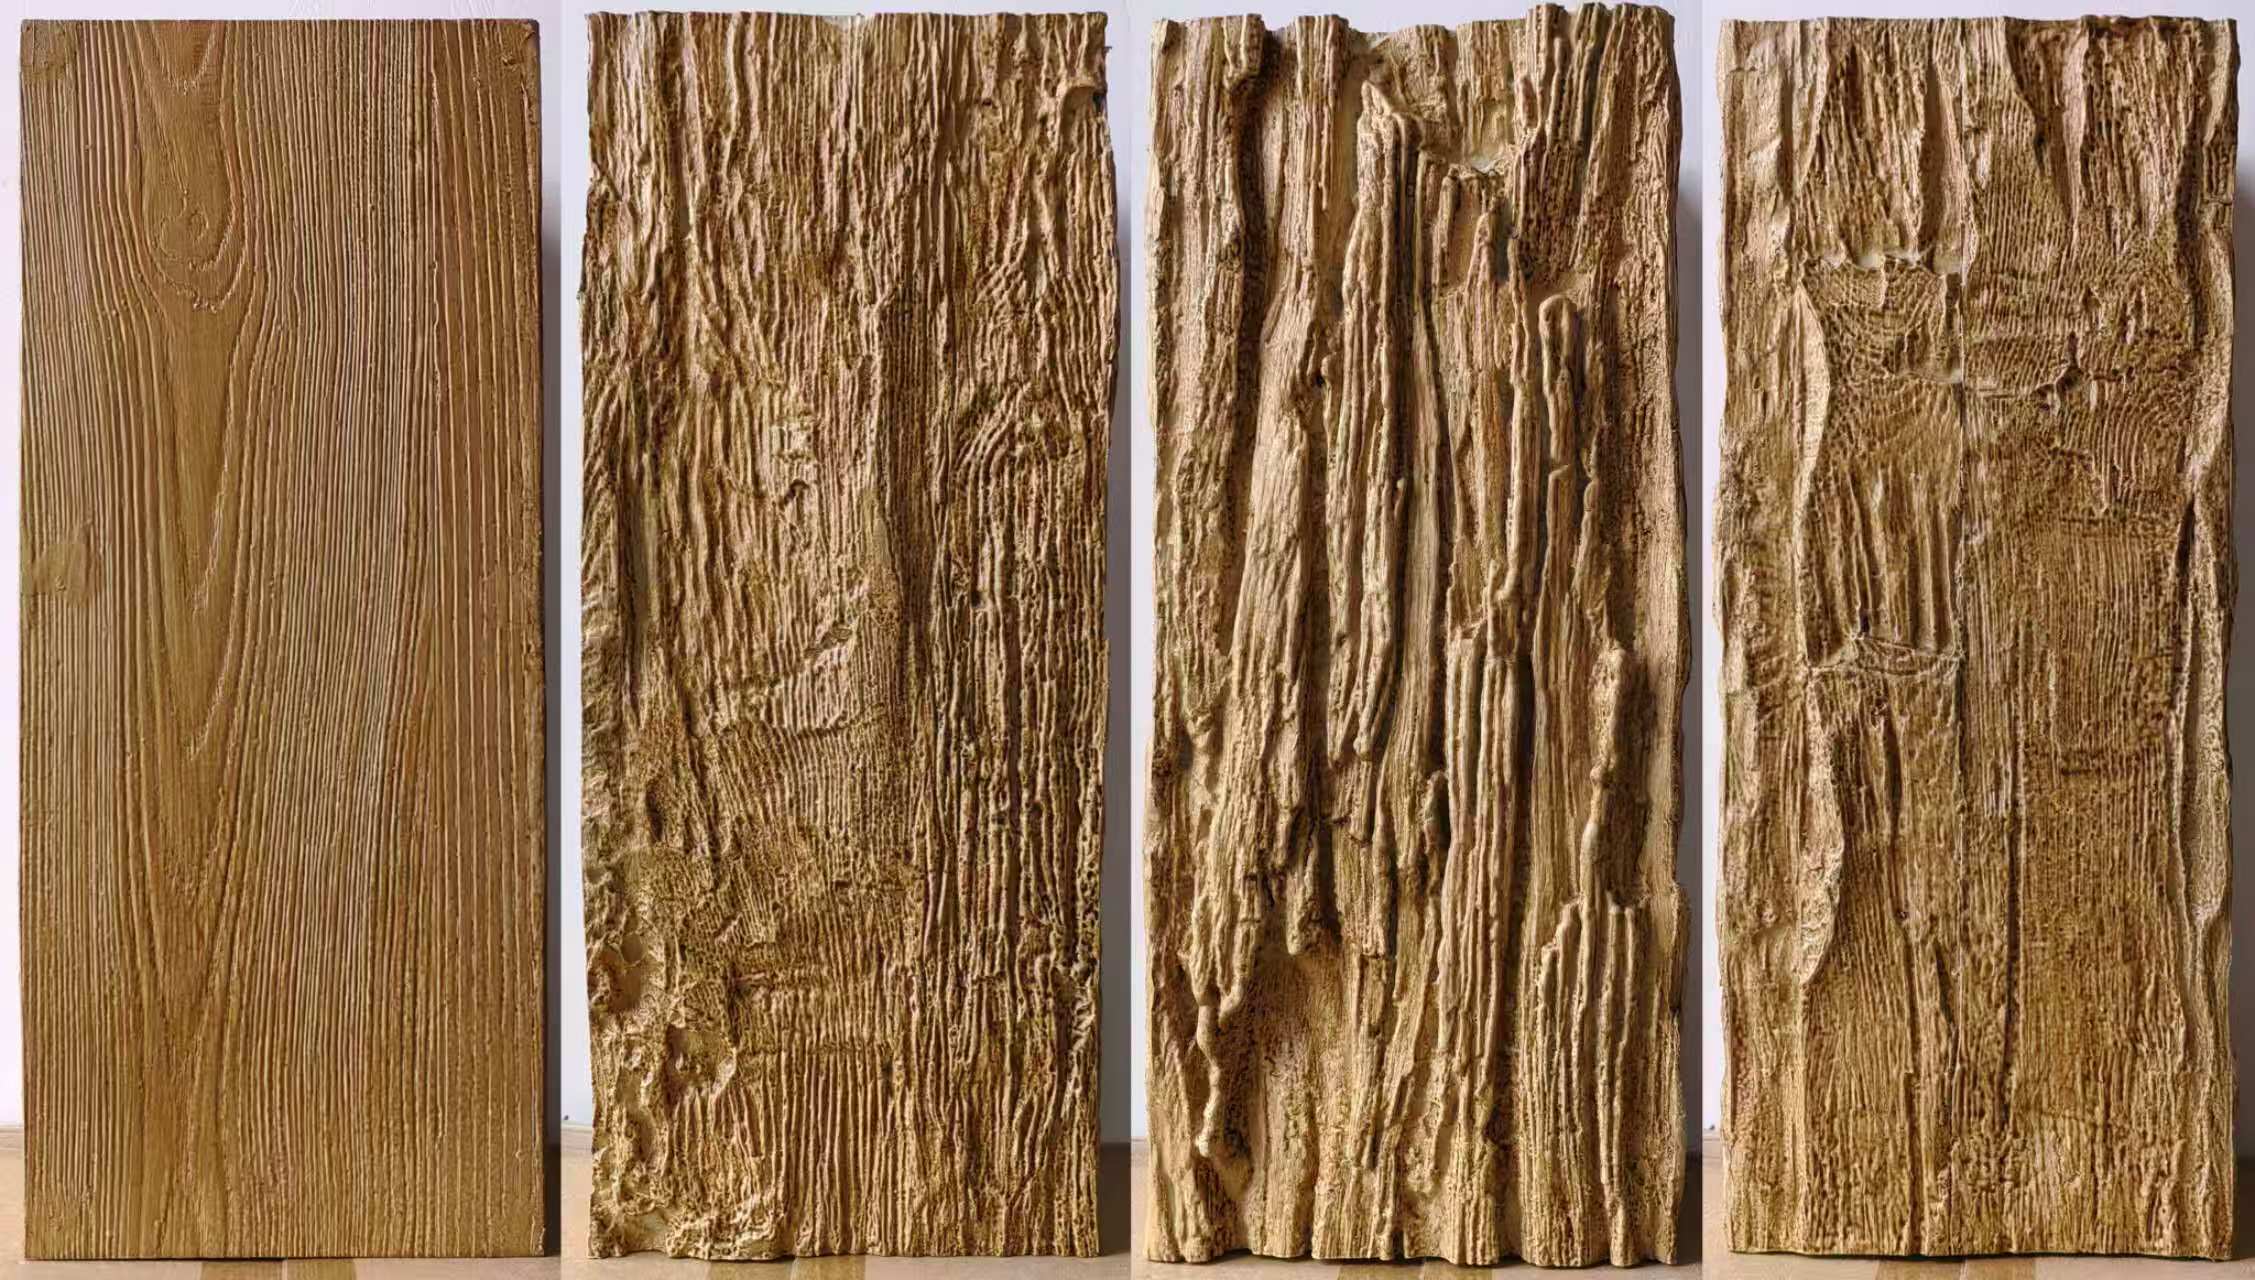
Establishing a hierarchy makes combinations easier to assess. For example, compare a deeply textured rock-effect wall with quieter adjoining walls and furniture first. With linear textures, try both horizontal and vertical arrangements and examine their relationship with doorways, cabinets and lighting.
These are starting points for selection; the final decision belongs in the actual space. Putting product images alongside site photographs and wall dimensions gets you closer to that decision than comparing texture close-ups alone.
4. What should a sample help you confirm?
A sample lets you examine aspects that product photographs do not readily show. The following approach is particularly useful if you are buying this type of material for the first time.
First, look at colour and relief under the intended lighting
Stand the sample upright where possible and place it close to its future wall position. Examine it in natural light and under the planned lighting, then view it from both the front and the side.
The front view helps you judge the overall tone. Side views and light from the side make the projection, shadows and surface finish easier to assess. The same texture may feel restrained under soft illumination and much more pronounced when lit from close to the wall.
Photographs are useful for recording comparisons, but screen brightness, automatic exposure and white balance all affect what is displayed. Confirm colour against the physical sample, and record the selected model and colour name.
Next, look at a whole panel and several panels together
A small sample is useful for local detail. A full panel is better for judging texture scale, direction and edges. If the overall wall appearance is particularly important, examine clear photographs of several panels joined together or carry out a physical layout comparison.
Focus on three things: whether texture flows between neighbouring panels, where the joints fall, and whether a distinctive repeated feature immediately catches the eye. Establish the installation direction in advance for directional wood grain, lines or rock layers.
Pay attention to edges, corners and openings
The finish of a wall is often revealed at its edges. Doorways, window surrounds, sockets, wall ends and corners deserve attention during material selection.
Ask the factory to explain the edge construction of the relevant model. Confirm whether corners require accessories, joined pieces or another treatment, how cut edges are finished, and how much space must be allowed. Resolve these points before the main panels have been selected and delivered.
Consider touch and everyday use together
If people regularly touch the wall at close range, chair backs may contact it, or the area has substantial foot traffic, sample assessment should also cover surface feel, hardness, likely contact points and cleaning methods.
With deep textures, consider whether recesses will be easy to clean. Obtain the care instructions for that surface first. If you need to try a cleaning product or assess stain resistance, agree on the method with the factory rather than judging the finish through arbitrary scratching or unsuitable solvents.
5. From liking a texture to specifying a product for purchase
Once you have chosen an appearance, consider the panel in relation to your project's dimensions, construction and conditions of use. The following information directly affects quantities, budgets and subsequent discussions.
Calculate quantities using effective coverage area
A panel's overall dimensions may differ from the dimensions it actually covers after installation. Some edges are used for overlaps or connections, so the entire overall area cannot always be counted as coverage.
For an initial panel count, divide the net wall area by the effective coverage area per panel and round up. The final quantity must also account for layout, cutting, door and window openings, corners and spare material. Even a large opening cannot simply be deducted from the total area without further review, because cuts and waste may still occur around it.
For panels with pronounced relief, clarify what the quoted thickness means: the base thickness, the maximum projection or a range. This affects edge finishes, socket positions and junctions with other finishes.
Compare all the items needed to complete the work
Price per panel is only a starting point. A fuller comparison includes the quantity needed per unit of effective coverage, relevant accessories, fixing materials, substrate preparation, edge finishing, packing and transport.
This matters especially when comparing different panel formats. A panel that looks larger does not necessarily cover more wall, and a lower price per panel may come with more cutting or additional finishing work. Quotations become more comparable once these conditions are aligned.
Match performance information to the finished product and location
“PU” identifies a material category; it cannot answer every performance question about an individual model. If your project requires information on fire performance, indoor emissions, outdoor use, weathering or UV resistance, obtain documents that correspond to the specific product. Check the test method, sample description and scope of application.
Fire performance also needs to be assessed in relation to the finished product's design and its installed configuration. Neither the raw material name nor a stone-like appearance is enough to establish it. (Polyurethane and building fire safety)
In damp areas, distinguish between the panel, joints, substrate and complete wall assembly. A description of an individual material's water resistance does not establish that the whole wall is waterproof. Before planning installation, confirm whether the substrate is sound, level and dry, and which fixing method applies to that model. Specific adhesives, mechanical fixings and installation details must follow the relevant product information.
If you already have an architect, contractor or project technical requirements, bringing that information into the discussion early is usually more effective than choosing the appearance first and raising each issue afterwards.
You do not need an elaborate document to contact us for the first time. These details will make the discussion more specific:
- Product images or models you like, or references for the texture you want to approach;
- Wall width and height, including doors, windows, corners or other special features;
- The location and environment, such as indoors or outdoors and proximity to water or heat;
- The known wall substrate, project technical requirements and planned installation method;
- Expected quantity, destination country or region, and intended timing.
When you choose Yeyu PU stone, we want you to find a surface you like and understand how it fits into your project. Start with a reference image and wall dimensions, and discuss with us the textures, panel formats and samples you would like to compare.
Contact Yeyu PU stone: sales@yeyupu.com; WhatsApp: +853 6206 6872.