Stand a sample upright under light similar to its intended location, then examine the details up close and the scale from further away. Small samples, full panels and multi-panel layouts serve different purposes. One small piece cannot answer every question.
Screen images help narrow a shortlist. Physical samples reveal sheen, feel, relief and edges. You can follow the same observation sequence for PU and MCM, but record the result against each product. One sample does not represent the behaviour of an entire material range.
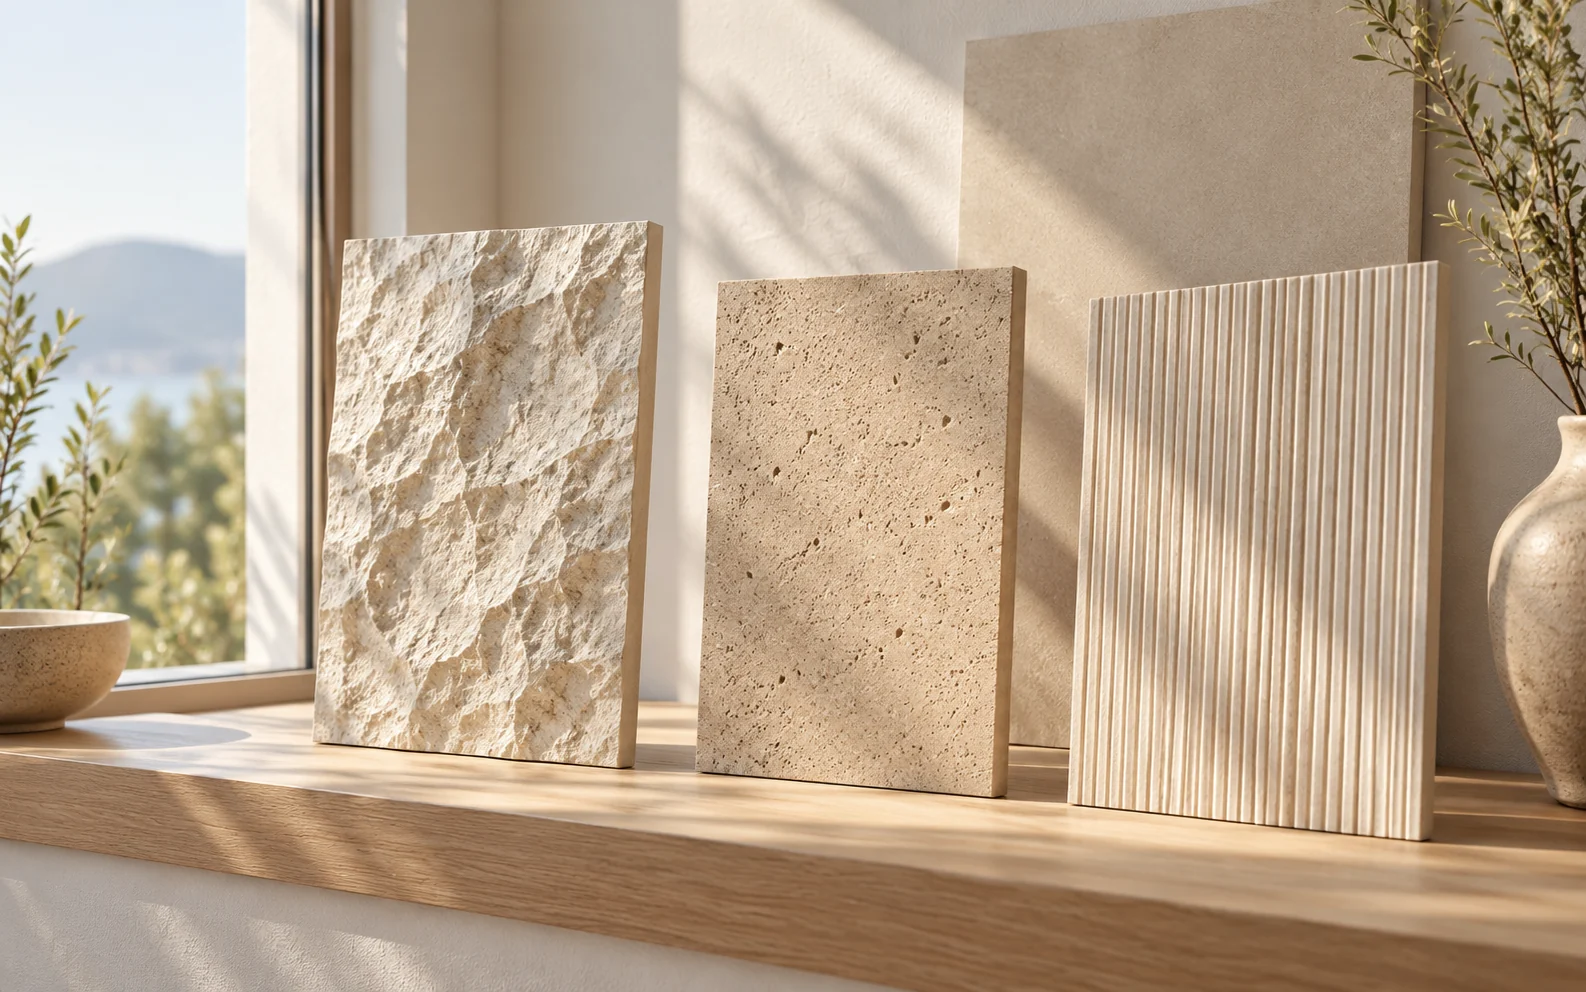
Cover: Illustrative concept: upright samples show different relief and shadows in directional daylight
1. Establish what the sample represents
Before comparing, record the product code, colour name, panel format and finish represented. Ask whether it is cut from a complete finished product, intended as a colour reference, or mainly shows texture. Those samples answer different questions.
Treat close-up colour images in the same way. They may show one area's background colour and details without including the full panel's most distinctive features. They also do not establish that the colour is available in every listed size. Match the image, sample and target specification before requesting a quotation.
Keep labelled record photographs alongside the written product information. Photographs aid communication, but return to the physical sample for colour confirmation, particularly when the screen and the material in front of you differ.
2. Change the light and the viewing distance
Observe under natural and artificial light similar to the intended location, rather than leaving the sample flat on a desk. When upright, it receives and reflects light differently. The same texture can produce stronger or quieter shadows as the light direction changes.
Front or diffuse light helps compare background colour and overall tone. Side light reveals physical relief, lines and grooves. Put candidates under the same light and set aside heavily filtered or differently exposed images before deciding which best fits the design.
Then step back to the usual viewing distance. PU rock forms and the spacing of MCM pores or lines may create different rhythms from further away. The detail that is most appealing close up may not be the most noticeable feature across the wall.
3. Give each sample scale a specific task
A small piece does not automatically reveal the full texture direction or include joining edges. Where whole-wall appearance matters, request clear full-panel photographs, multi-panel layout information or discuss a suitable mock-up.
| What to examine | Main purpose | Further information needed |
|---|---|---|
| Small sample | Local colour, feel, grains and surface finish | Its position in the full panel and what it represents |
| Whole panel | Texture scale, direction, edges and format | Arrangement and connection of neighbouring panels |
| Several panels together | Repetition, joints and overall rhythm | Relationship to actual wall width and openings |
| Junction mock-up | Appearance at a corner, edge or curve | Model-specific construction and fixing conditions |
Pay particular attention to repetition. A distinctive rock feature or a break in a linear texture can become more noticeable when repeated. Confirm available texture faces and layout options before judging whether the complete wall will look natural.
4. Include edges and everyday contact
Openings, wall ends, corners and sockets often determine the finished details. Use the sample to discuss how cut edges are finished, whether thickness or projection affects adjacent materials, and whether accessories or other junction details are needed.
For curves, a complete mock-up corresponding to the target profile is more useful than hand bending alone. Examine the surface, joints and edges against the design, while confirming permitted bending direction, radius and installation conditions.
Where people or furniture often touch the wall, consider surface feel and exposed projections. Obtain relevant care instructions for cleaning or staining questions. Agree any verification method with the factory rather than scratching randomly or using unsuitable solvents. An ordinary selection sample cannot replace fire or other prescribed tests.
5. Keep decisions useful for the next conversation
Record more than like or dislike. Note whether colour and texture scale are suitable, how the sample looks in side light, and which full-panel or junction details remain unclear. A clear reason for rejecting a candidate also helps guide the next selection.
Before quotation, confirm that the chosen sample matches the intended model, colour and specification. If consistency across the order matters, discuss what the sample represents, order requirements and subsequent checks. One sample does not establish that every panel's texture and colour will be absolutely identical.
Shortlist products in the PU catalogue or MCM catalogue. Send YEYU the codes, site photographs, wall dimensions, estimated quantity and destination, explaining what matters most in your sample comparison.
Contact YEYU. Email: sales@yeyupu.com; WhatsApp: +853 6206 6872.